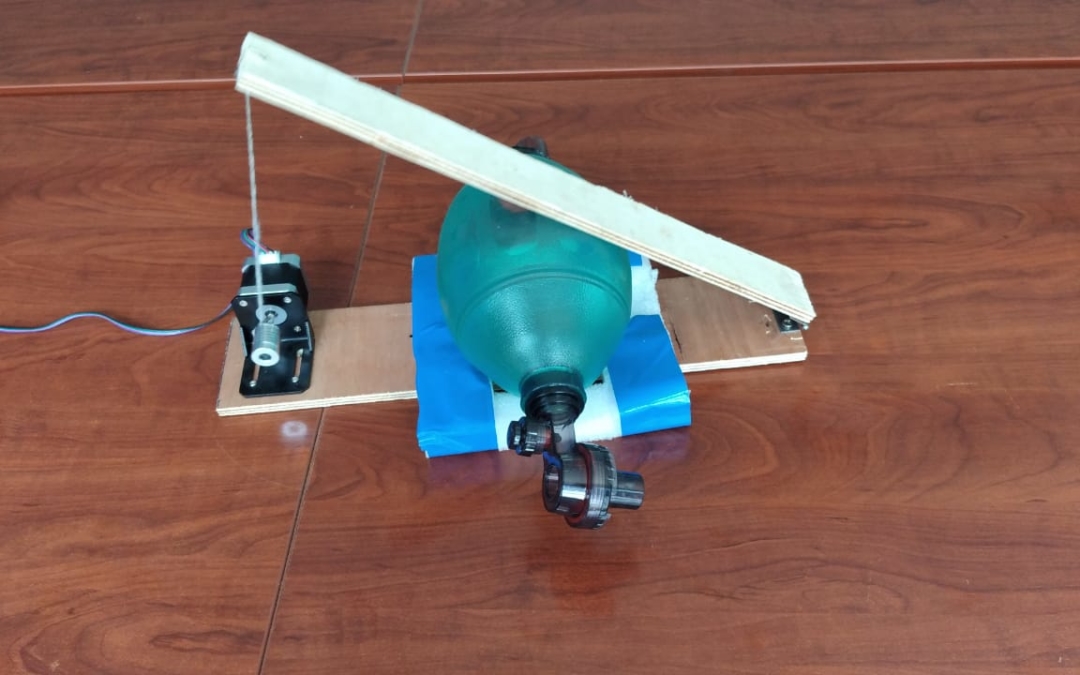
Making a DIY Ventilator using a stepper motor.
For construction of the ventilator, we need:
- A piece of wood
- A hinge
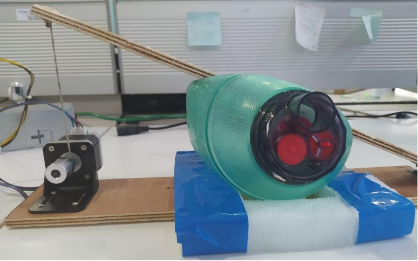
- A stepper motor bracket
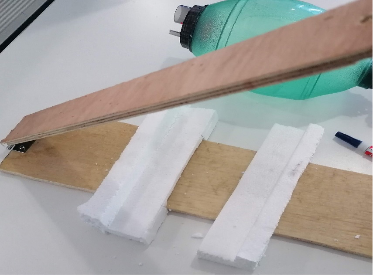
- Apiece of “shock absorbers”
- NEMA 17 Stepper motor
Assembling the parts together:
- Cut the wood in two pieces as desired to make the pressing arm and the base of the ventilator.
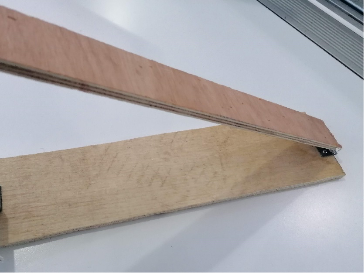
- Hinge the pieces of wood together one side.
- Cut a piece of “shock absorber” and place it on the wood as a base for the Ambu bag.
- After assembling the parts together and mounting the stepper motor
For rotating the motor we need to connect the Arduino circuit.
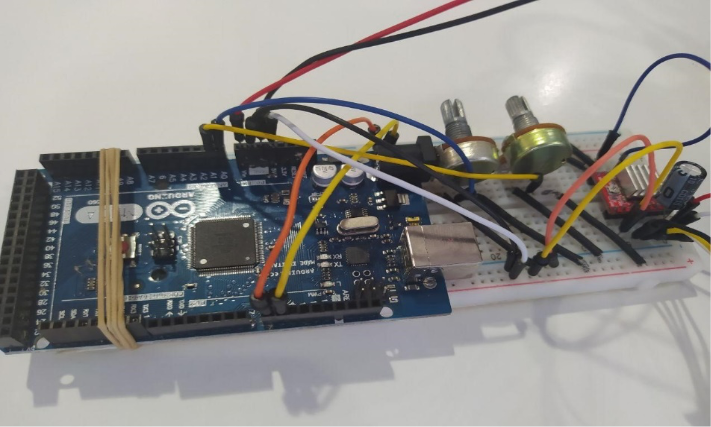
The components required are as follows:
- Arduino Mega 2560
- A4988 Motor driver module with heat sink
- Potentiometers
- 100µF capacitor
- Breadboard and Jumper wires
- 12v 2A Adaptor.
The A4988 driver controls the bipolar stepper motor using the steps and direction pins. Check out its data sheet for more info: https://www.tme.eu/Document/25459777e672c305e474897eef284f74/POLOLU-2128.pdf
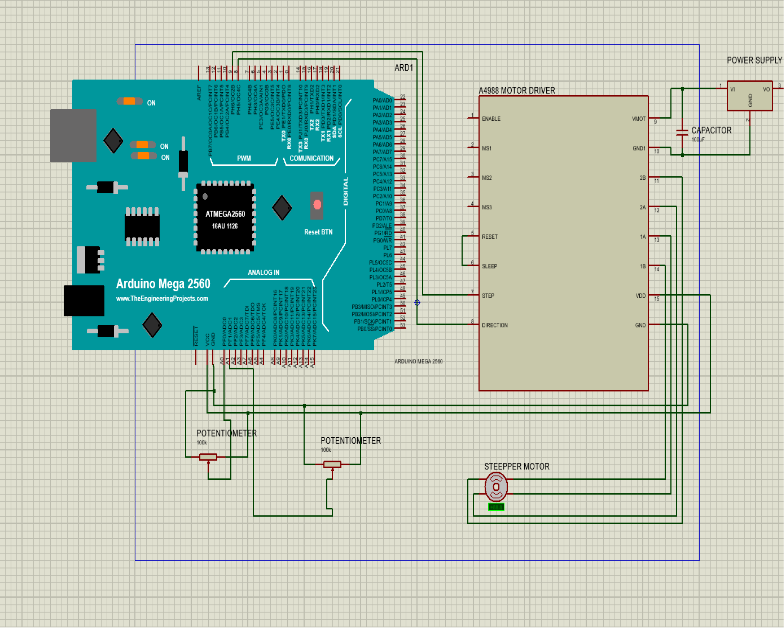
The electrical connections are as shown in the complete circuit schematic below:
Connections description:
- VDD and GND pins from the driver connected to 5V and GND of the Arduino.
- A1 ,B1 ,A2 ,B2 pins of the driver are connected to the stepper motor.
- VMOT and GND of the driver to power supply with the 100µF capacitor in between the two terminals for decoupling.
- STEP and DIR pin of the driver to pin 8 and 9 of the Arduino.
- The wipers of the potentiometers connected to pins A0 and A1 of the Arduino. The other two pins of the potentiometer to 5V and GND.
- Connect RST and SLEEP pin on the driver.
Here’s the Arduino circuit connection diagram:
The total Cost of assembling the ventilator is less than KES 20, 000 .
For commercial production or incase one needs us to assemble the ventilator for them you can reach us on below contacts.