by Richard Omenyo | Jun 22, 2020 | Business Applications, News
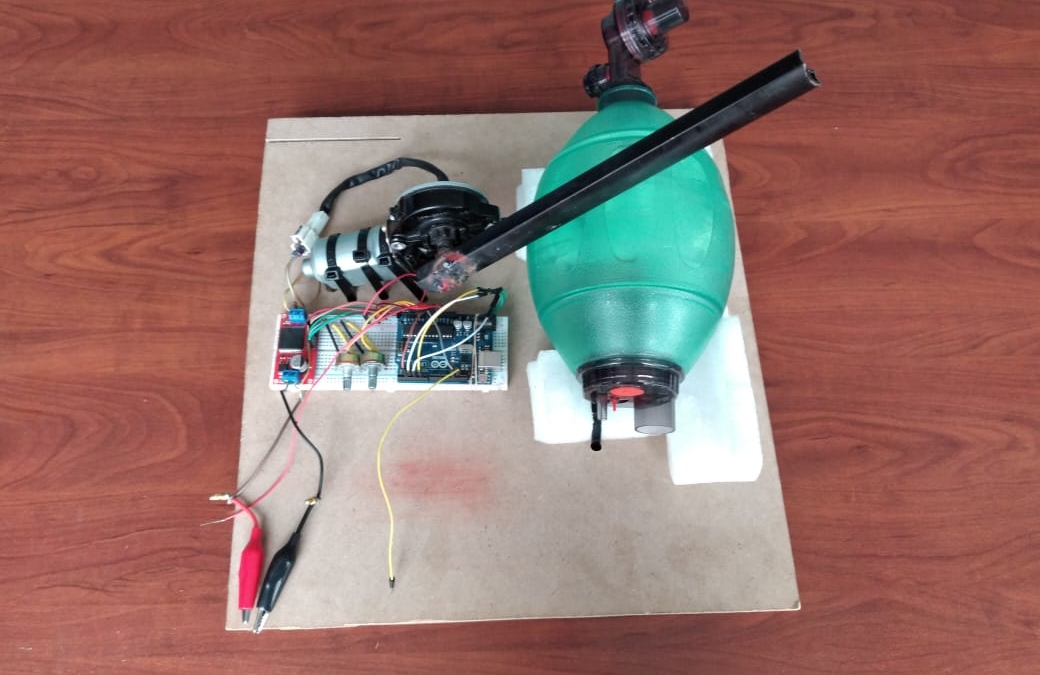
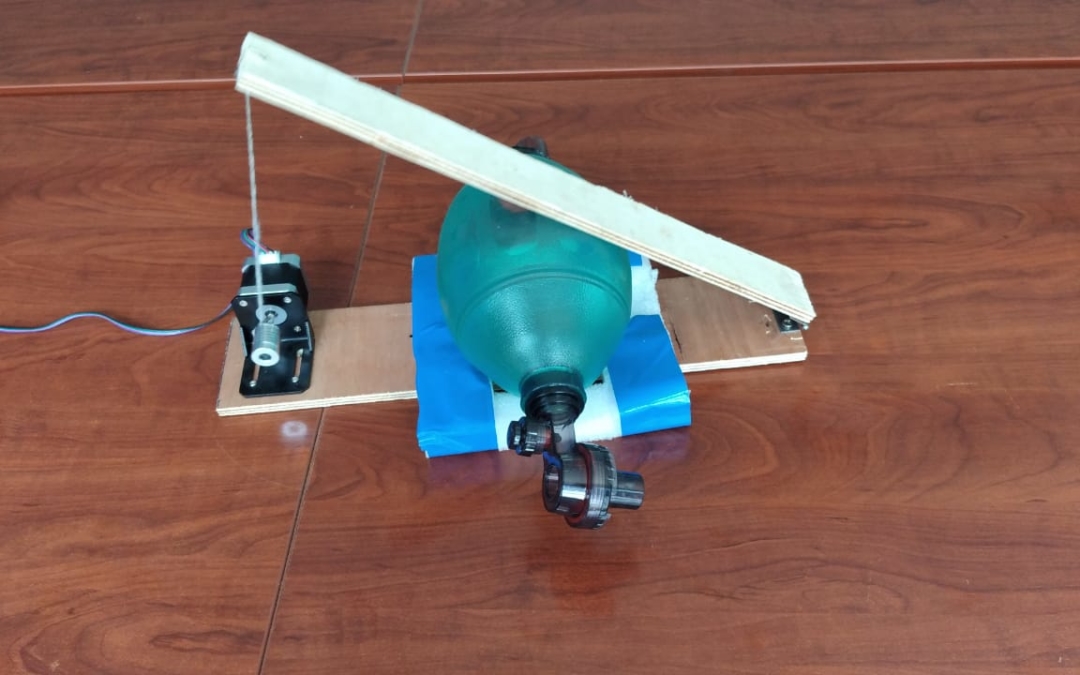
For construction of the ventilator, we need:
- A piece of light metal arm.
- A flat piece of wood
- A car window motor
- Apiece of “shock absorbers”
Assembling the parts together:
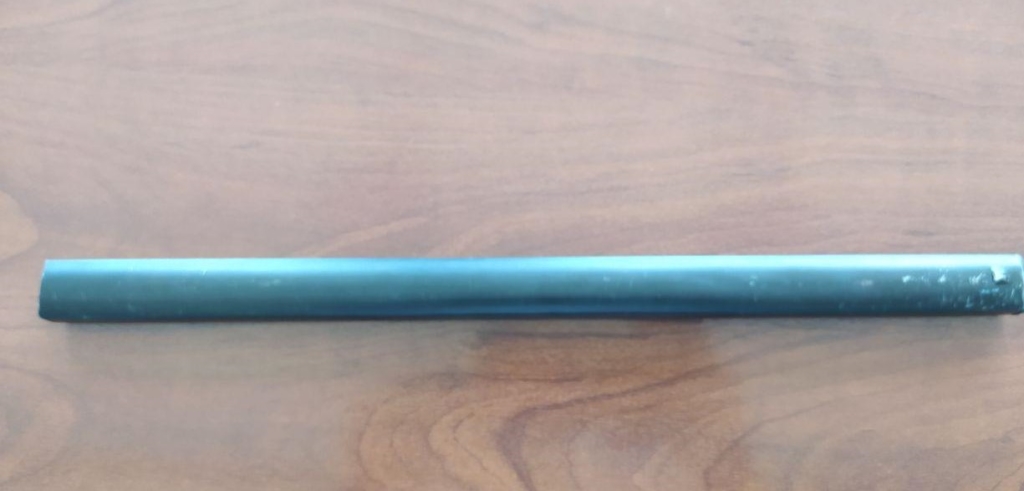
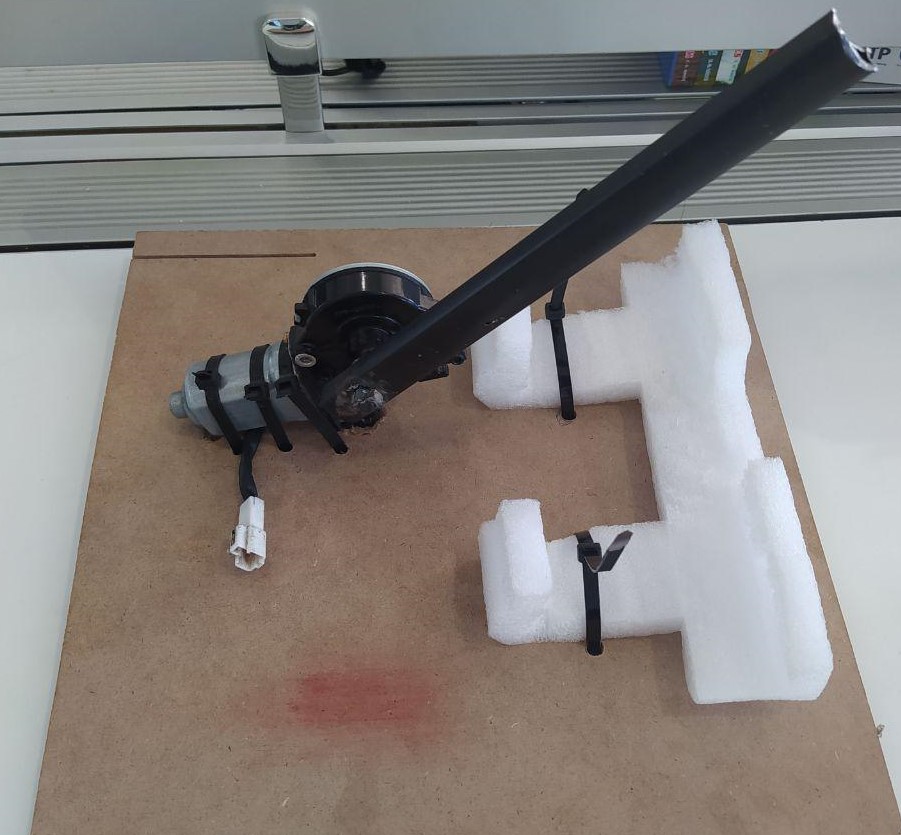
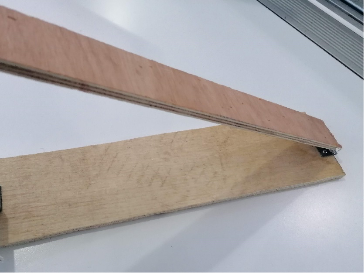
- Cut the metal arm to a desired length, used to press the Ambu bag.
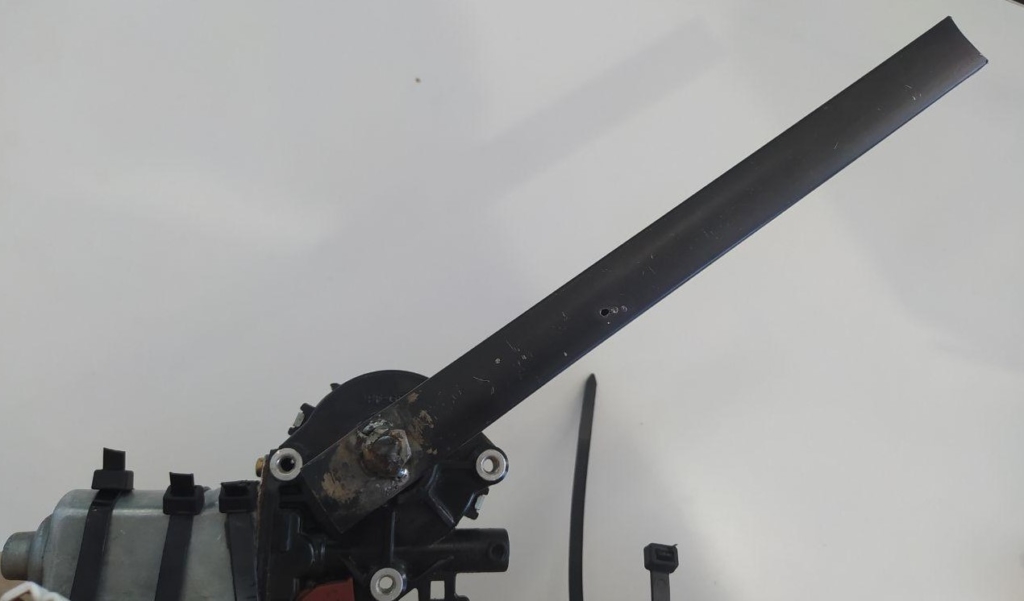
- The metal arm is fastened on the motor as shown below:
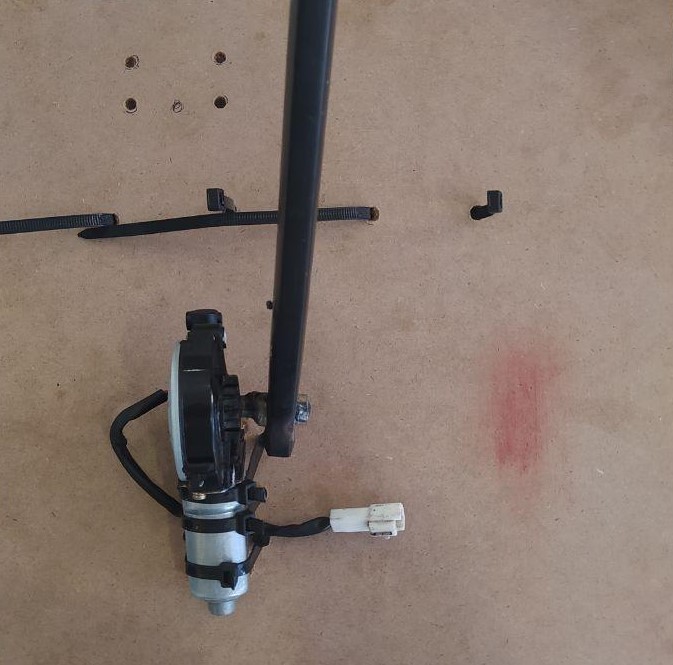
- Get the correct position on the board and mount the motor.
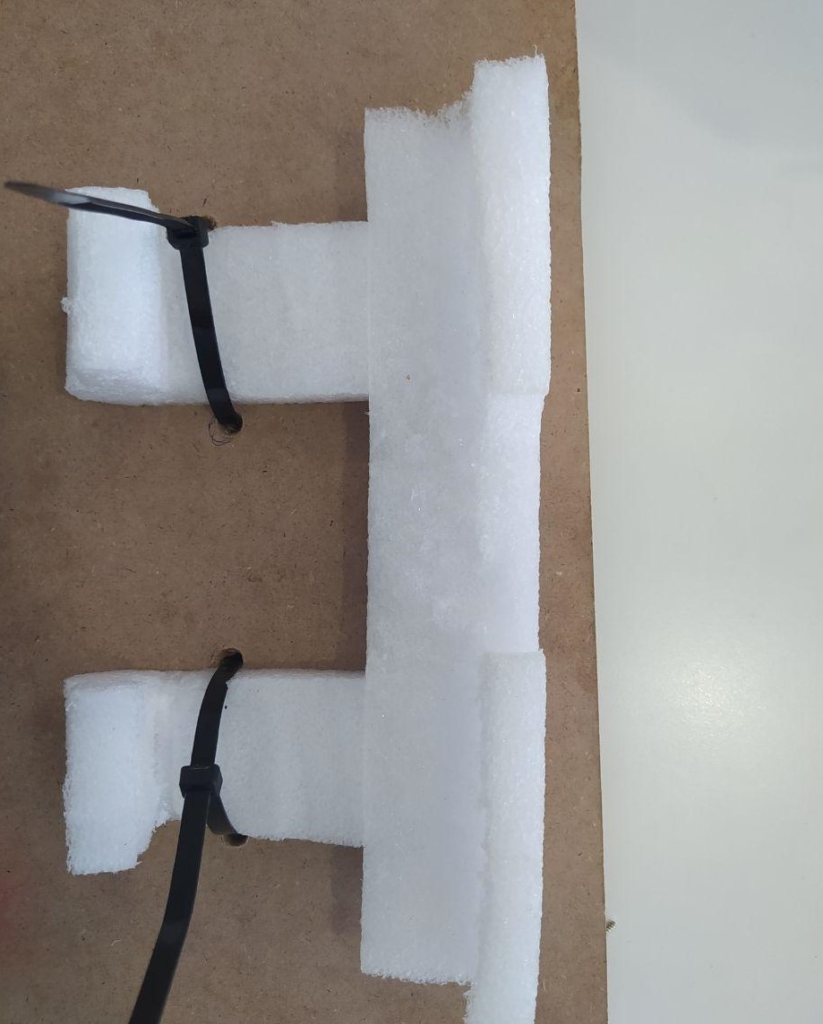
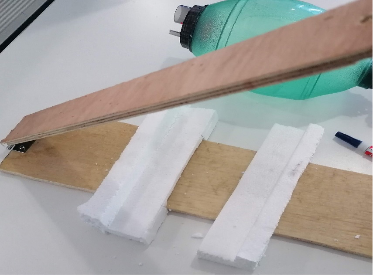
- Mount the piece of shock absorber to get the base for the Ambu bag
- After assembling the parts together:
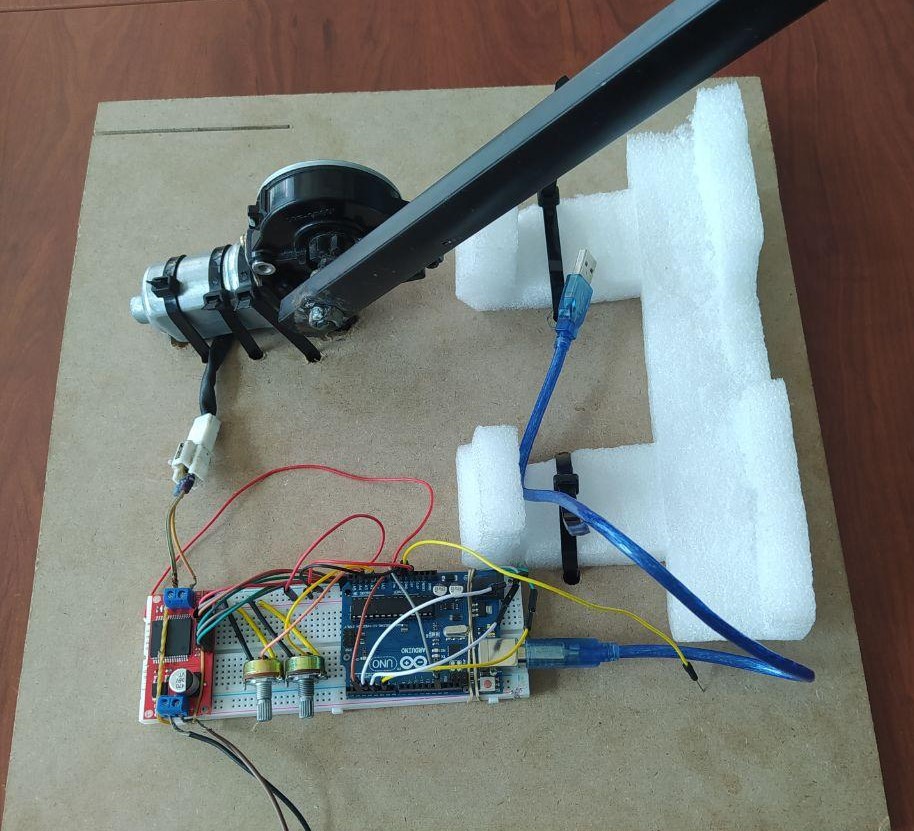
For rotating the dc motor we need to connect the Arduino circuit.
The components required are as follows:
- Arduino Uno
- VHN3SP30 dc motor driver
- Potentiometers
- Breadboard and Jumper wire
- 12v 2A Adaptor
The VNH3SP30 is a full bridge motor driver intended for a wide range of automotive applications. Check out its datasheet for more info: https://www.sparkfun.com/datasheets/Robotics/vnh3sp30.pdf
The complete circuit connection diagram is as shown below:
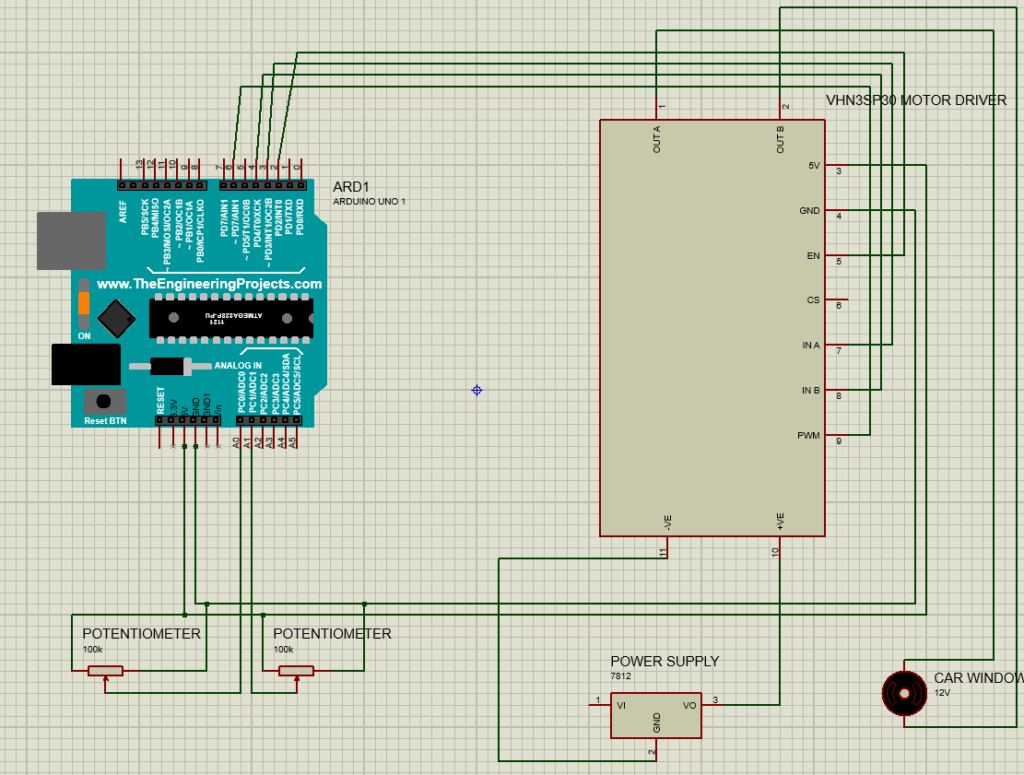
Connection description:
- 5V and GND from the driver connected to 5V and GND terminals of the Arduino.
- The EN, IN A, IN B and PWM pins of the driver are connected to pins ~2,~3, 4 and ~6 of the Arduino.
- OUT A and OUT B of the driver are connected to the motor.
- +VE and -VE of the driver connected to power supply.
- The wipers of the potentiometers connected to pins A0 and A1 of the Arduino. The other two pins of the potentiometer to 5V and GND.
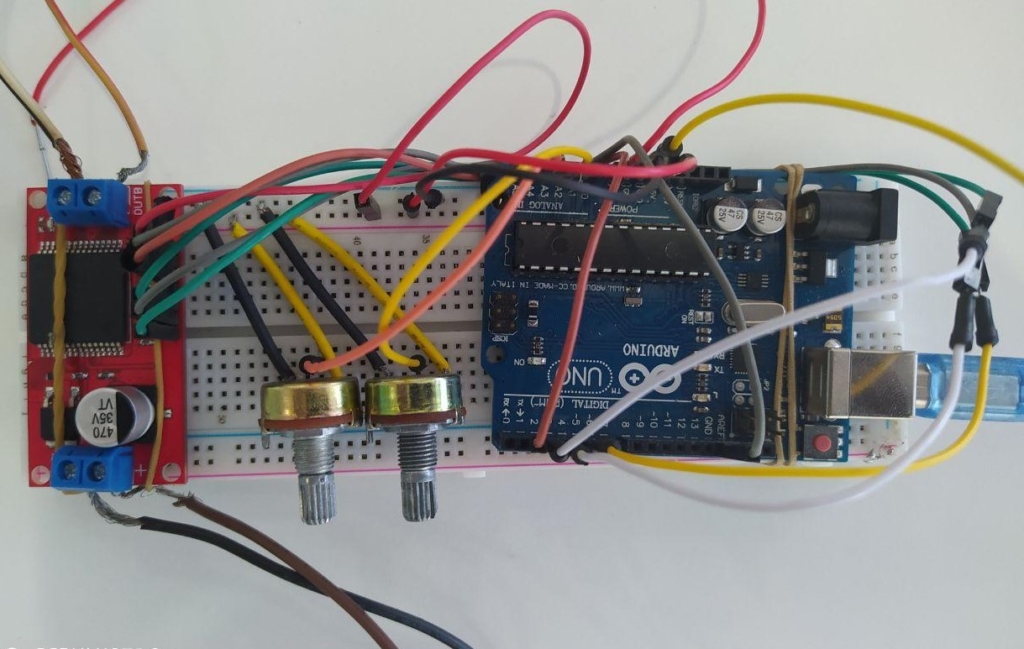
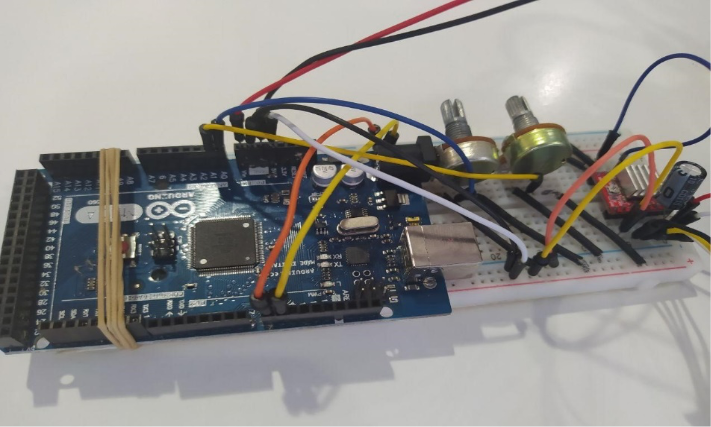
Here’s the Arduino circuit connection diagram:
The total Cost of assembling the ventilator is less than KES 20, 000 .
For commercial production or incase one needs us to assemble the ventilator for them you can reach us on below contacts.
by Richard Omenyo | Jun 9, 2020 | Business Applications, Headline
Making a DIY Ventilator using a stepper motor.
For construction of the ventilator, we need:
- A piece of wood
- A hinge
- A stepper motor bracket
- Apiece of “shock absorbers”
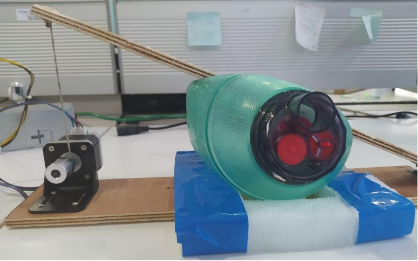
- NEMA 17 Stepper motor
Assembling the parts together:
- Cut the wood in two pieces as desired to make the pressing arm and the base of the ventilator.
- Hinge the pieces of wood together one side.
- Cut a piece of “shock absorber” and place it on the wood as a base for the Ambu bag.
- After assembling the parts together and mounting the stepper motor
For rotating the motor we need to connect the Arduino circuit.
The components required are as follows:
- Arduino Mega 2560
- A4988 Motor driver module with heat sink
- Potentiometers
- 100µF capacitor
- Breadboard and Jumper wires
- 12v 2A Adaptor.
The A4988 driver controls the bipolar stepper motor using the steps and direction pins. Check out its data sheet for more info: https://www.tme.eu/Document/25459777e672c305e474897eef284f74/POLOLU-2128.pdf
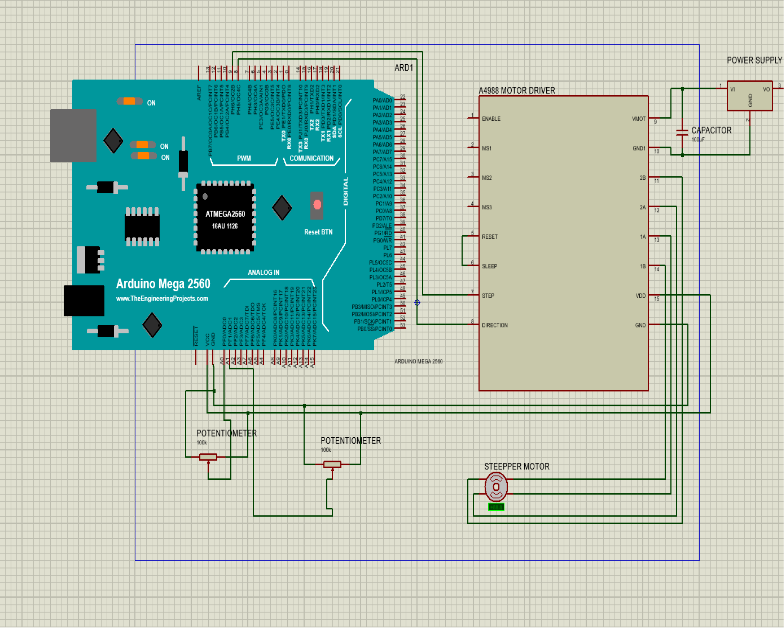
The electrical connections are as shown in the complete circuit schematic below:
Connections description:
- VDD and GND pins from the driver connected to 5V and GND of the Arduino.
- A1 ,B1 ,A2 ,B2 pins of the driver are connected to the stepper motor.
- VMOT and GND of the driver to power supply with the 100µF capacitor in between the two terminals for decoupling.
- STEP and DIR pin of the driver to pin 8 and 9 of the Arduino.
- The wipers of the potentiometers connected to pins A0 and A1 of the Arduino. The other two pins of the potentiometer to 5V and GND.
- Connect RST and SLEEP pin on the driver.
Here’s the Arduino circuit connection diagram:
The total Cost of assembling the ventilator is less than KES 20, 000 .
For commercial production or incase one needs us to assemble the ventilator for them you can reach us on below contacts.